Your silicone LED strip extrusion quality fails at bubbles and uneven shapes. The problem connects your material preparation to your screw design. Mastering both is essential.
Perfect silicone LED strip extrusion requires integrated control of material compounding and machine mechanics. This guide shows how proper additive dispersion and screw-driven pressure work together to eliminate bubbles, ensure even color, and deliver consistent strip profiles.
I’m Eason. In a factory in India, they fought bubbles for months. They tried resting the material—it didn’t work. They checked for moisture—it wasn’t the issue. The problem was their screw. It had a worn compression section. It couldn’t build enough pressure to squeeze out the air. We replaced the screw, and the bubbles vanished. This experience taught me that silicone LED strip extrusion is a marriage between perfect material and precise mechanics. You need both. See how our extrusion systems integrate both solutions.
Why Integrated Control of Material and Machine Defines Your Extrusion Success
A perfect mix is useless with a bad screw. A new screw can’t fix poorly dispersed material. Your extrusion line is one system.
The silicone LED strip extrusion process fails when material science and machine mechanics are managed separately. Bubbles, uneven color, and profile defects occur at their intersection. Success requires treating your preparation room and extruder as connected quality stations.

Let me explain with a case from Vietnam. A client produced beautiful strips for weeks. Then they changed their diffuser agent supplier to save cost. The new powder was slightly finer. Suddenly, their strips showed uneven light diffusion. The extrusion team adjusted temperatures and speeds for days. Nothing worked. The problem was in the material preparation. The finer powder needed a longer mixing cycle on the two-roll mill to disperse fully. The old machine settings were correct for the old material. The new material needed a new mixing protocol. This is the core truth: Silicone extrusion process control is a feedback loop. A change in the material room demands a verification check on the extrusion line, and vice versa.
Silicone material preparation sets the stage. It determines:
- Uniformity: How evenly are additives like TiO2 spread?
- Rheology: What is the viscosity and flow behavior of the compound?
- Reactivity: How will the curing agents activate?
Extrusion machine mechanics perform the act. The screw must:
- Convey steadily: Move material without slipping or surging.
- Compress and shear: Build pressure to homogenize and remove air.
- Meter precisely: Deliver a consistent volume to the die.
When a bubble defect appears, you must ask two questions: First, was there excessive air entrapped during mixing? Second, did the screw generate enough compression pressure to dissolve that air? Ignoring either question leads to endless troubleshooting. Your LED strip manufacturing quality depends on this partnership.
The Machine Fix: How Screw Design and Pressure Eliminate Extrusion Bubbles
Bubbles in your silicone strip mean your screw isn’t squeezing hard enough. High viscosity silicone needs compression, not vacuum.
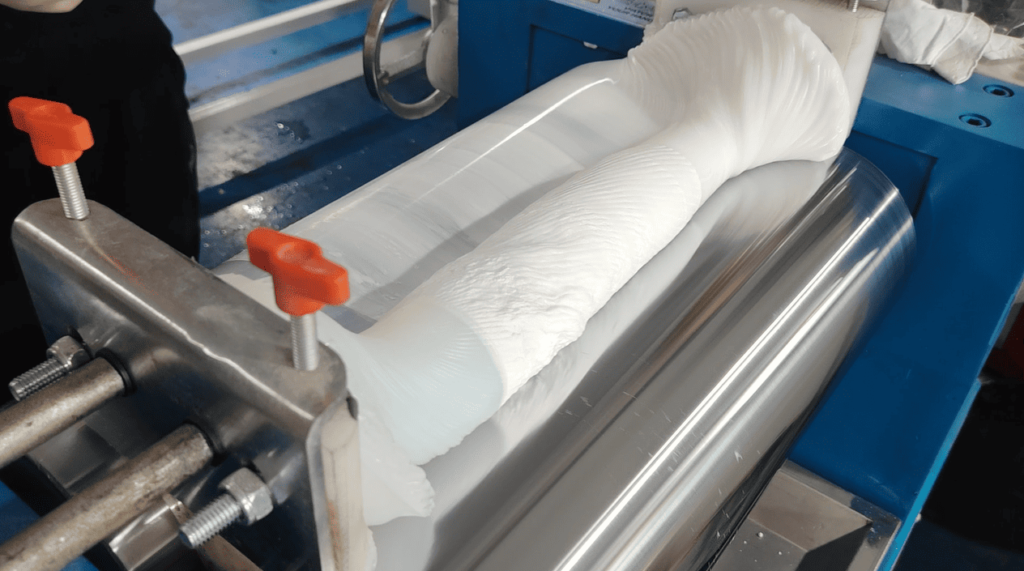
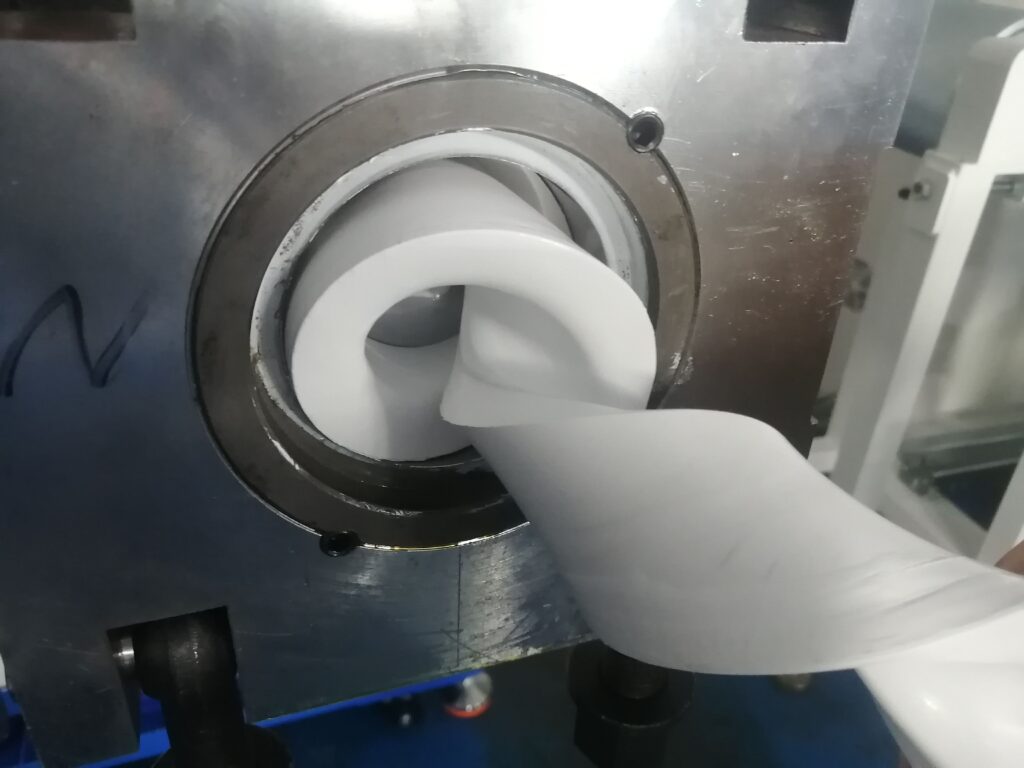
Removing air from silicone rubber extrusion relies on screw-generated high pressure, not vacuum degassing. A properly designed screw compresses the material, dissolving entrapped air into the polymer melt before it reaches the die.
This is a critical correction to a common misunderstanding. Many people ask me about adding a vacuum port to their extruder for silicone. I tell them it won’t work. Silicone rubber for LED strips is a very high-viscosity, non-Newtonian material. It doesn’t flow like water. Under vacuum, it simply forms a solid seal. The air pockets trapped inside cannot travel through the thick material to the port. The proven method is pressure dissolution.
Here is how the screw solves the bubble problem:
- The Feed Section: The screw flights grab the solid silicone compound (in bar form). This section is deep-cut to move material steadily.
- The Compression Section: This is the heart of deaeration. The screw channel depth gradually becomes shallower. As the material moves forward, the available space decreases. The silicone is squeezed between the screw root and the barrel wall. This action generates tremendous pressure—often hundreds of bar.
- The Physics of Dissolution: Under this high pressure, the tiny air bubbles are compressed. The air is forced to dissolve into the silicone polymer melt. It’s like carbon dioxide dissolving in soda under pressure. The high pressure physically “squeezes” the air into solution.
- The Metering Section: The final, shallow-depth section maintains this high pressure and delivers a smooth, homogeneous melt to the crosshead die.
If bubbles persist, your screw might be worn in the compression section. The channel depth may have increased from abrasion. It can no longer build sufficient pressure. Another cause is running the screw too fast. The material spends less time in the compression zone, reducing the “squeeze” time. The fix is to inspect screw wear and optimize the speed-to-pressure relationship. This mechanical solution, combined with good material practice, makes bubbles inside the silicone strip a solvable problem, not a mystery.
The Material Foundation: How Compounding Precision Prevents Color and Cure Defects
Your screw can’t fix streaks or uneven curing. Those defects are locked in during mixing. Precision in the material room makes the screw’s job possible.
Preventing color streaks and inconsistent curing in silicone LED strip extrusion depends entirely on silicone rubber compounding accuracy. Perfect dispersion of pigments and exact measurement of catalysts in the preparation stage eliminate variables the extruder cannot correct.
While the screw handles air, it cannot unmix a bad batch. I worked with a factory in Poland that had intermittent color streaks. The streaks would come and go. They replaced sensors and cleaned the die repeatedly. The problem was in their mixing room. They had two technicians on rotating shifts. One technician was meticulous on the two-roll mill. He performed the “cut and fold” technique 40 times per batch. The other technician rushed, doing it only 20 times. The under-mixed batches had poor color masterbatch dispersion. When these batches were extruded, the semi-dispersed color particles created streaks. The solution wasn’t on the extrusion line; it was standardizing the mixing SOP (Standard Operating Procedure) and adding a dispersion check.
Silicone material preparation must achieve two non-negotiable goals:
Goal 1: Microscopic Additive Uniformity
Whether it’s TiO2 for diffusion or a color pigment, every particle must be separated and surrounded by polymer. This is achieved through mechanical shear, primarily on the two-roll mill. The operator doesn’t just wait; they actively work the material. The number of “cut and fold” cycles is specified and recorded. We sometimes take a small sample and press it into a thin film to check for specks under a bright light. This front-end check guarantees the extruder receives a homogeneous mix, enabling it to produce a strip with uniform light output.
Goal 2: Exact Chemical Stoichiometry
The curing reaction is a chemical dance. The platinum-curing agent molecules must find their partners in the polymer. If the catalyst is not weighed precisely, or if it’s added into a locally hot spot in the mixer, the reaction can be uneven. Some parts of the strip cure faster than others. This leads to internal stress and poor long-term adhesion. Our procedure is strict: weigh catalysts on a separate, clean scale; add them last to a cooled batch; mix thoroughly but gently. This ensures the chemical potential for a perfect cure is evenly distributed before extrusion even begins.
By locking down these material variables, you send a consistent, predictable feedstock to the extruder. The screw’s job then becomes purely mechanical: convey, compress, and form. This division of labor—chemistry in the prep room, physics on the extruder—is the key to stable LED strip production.
The Control Loop: Implementing a System for Continuous Silicone Extrusion Quality
Consistent quality doesn’t come from heroic fixes. It comes from a simple system that connects material batches to machine performance and final product checks.
Sustaining high silicone LED strip extrusion quality requires a closed-loop system: documented material batches, correlated machine settings, and final strip inspection data that feeds back to improve both preparation and extrusion parameters.
In Saudi Arabia, we helped a client move from “firefighting” to “process control.” Their breakthrough was a simple batch ticket system. Every mix in the material room received a unique number. That number traveled with the material to the extruder hopper. The extrusion operator entered the batch number into the control system when they started feeding that material. The system recorded key parameters: screw speed, pressure, and motor load for that specific batch. Later, if a section of strip was cut for a cross-section inspection and a slight thickness variation was found, they could trace it back. They could see that “Batch #4721” ran with a 5% higher pressure. They then checked the mixing log for #4721 and found a note about higher ambient humidity that day. This connection—material batch to machine data to final quality—created a powerful feedback loop.
Here is how to build this control loop:
Step 1: Create Material Identity. Every compound batch gets an ID. The log records raw material lot numbers, weights, mixing time, and technician observations (e.g., “material felt stiffer”).
Step 2: Link Identity to Production. When feeding a batch, the extrusion line log notes the batch ID and any deviations from standard settings needed to run well (e.g., “required 2% higher screw speed”).
Step 3: Correlate with Product Quality. During inspection of the cured strip, note the batch ID for any sampled section. Record measurements like width, thickness, and results from a peel adhesion test.
Over time, patterns emerge. You might find that batches mixed by Technician A consistently run with lower pressure, indicating better initial dispersion. Or that material from Polymer Supplier B needs a slightly different temperature profile. This data-driven approach moves you from guessing to knowing. It makes your silicone extrusion process control proactive and predictive. You’re not just making product; you’re building a database of knowledge that continuously improves your LED strip manufacturing efficiency and quality.
Conclusion: Unifying Your Process from Powder to Perfect Strip
Stop managing your material room and extrusion line as separate kingdoms. Unify them with shared data, common goals, and an understanding that quality is built in tandem.
Achieving defect-free silicone LED strip extrusion is the result of unifying material precision with mechanical optimization. By fostering collaboration between preparation and extrusion teams, implementing traceability, and focusing on pressure-based solutions for material challenges, you build a resilient and high-quality manufacturing process.
The journey from raw silicone to a flawless illuminated strip is continuous. A weakness in the first step weakens every step after it. But when your material team understands how their dispersion affects extruder pressure, and your extrusion team understands how screw wear impacts the elimination of material-related defects, you create a powerful alliance. This alliance is your most effective tool for problem-solving and innovation.
Is your material preparation isolated from your extrusion operation?
Let’s help you build the bridges. I can assist in implementing a batch traceability system, training your teams on the material-machine connection, and auditing your screw design for optimal silicone extrusion performance.
Contact me, Eason, to integrate your process from compounding to extrusion. Let’s ensure every step in your line works together to produce nothing but perfect silicone LED strips.