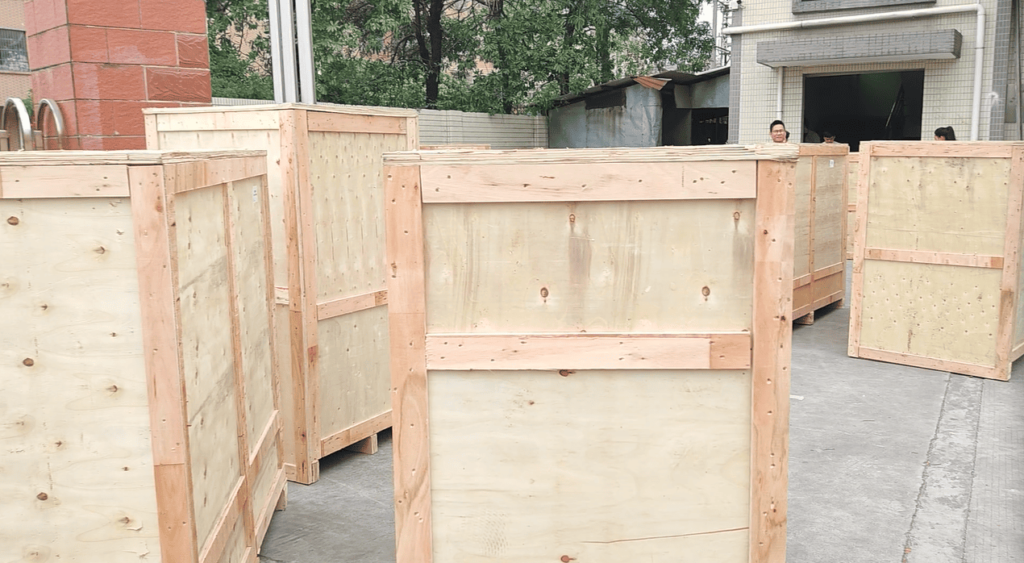
You’ve ordered the machine. The container arrives. Now the real work begins. How do you transform a workshop floor into a productive, profitable silicone extrusion line?
The journey from machine delivery to full-scale LED strip production is a complex, hands-on process. It demands precise installation, deep technical training, and careful process debugging, all performed on-site at your factory. Success depends on the expertise of your equipment partner, not just the hardware.
At SiliconExtrusionTech, we don’t just ship containers. We deliver complete production capability. I’m Eason, and for over five years, I’ve guided clients worldwide through this exact journey. I’ve stood on factory floors from Saudi Arabia to Vietnam, turning complex machinery into reliable, daily-use assets. This is the story of that process, a behind-the-scenes look at what it truly takes to bring a silicone LED strip extrusion machine online. Explore our core extrusion machine solutions here.
Chapter 1: How Do We Build the Foundation for Consistent Silicone Extrusion?
Before a single strip is extruded, the physical and electrical groundwork determines your future quality and uptime.
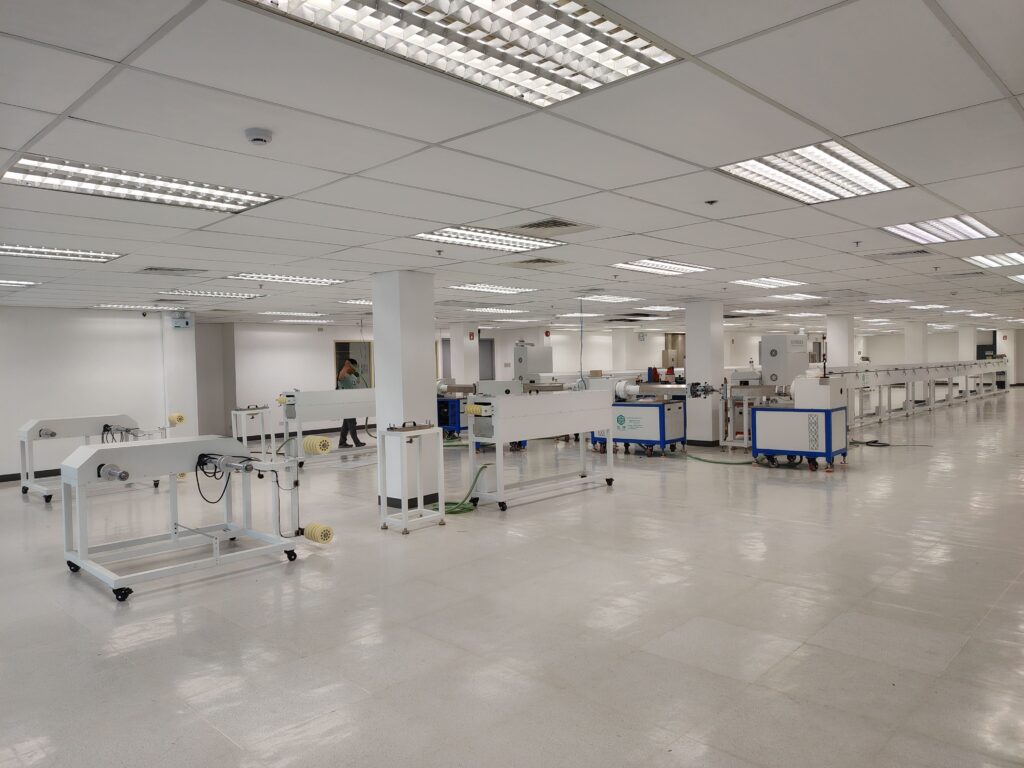
Successful silicone LED strip production starts with professional installation. This phase is about meticulous machine alignment, safe electrical integration, and creating an efficient workshop layout. We transform an empty space into a coherent, high-precision LED strip extrusion production line.
The first sight of uncrated machines can be overwhelming. Our first job is to create order from chaos. This is a systematic, four-stage process.
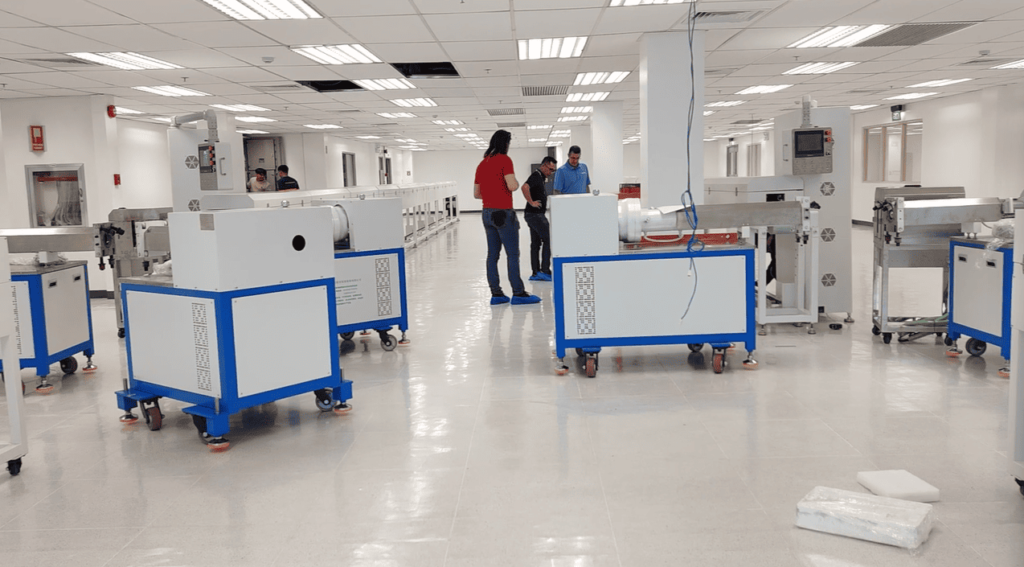
Stage 1: Strategic Workshop Layout
We don’t just place machines randomly. We map the entire material flow with your team. The goal is a logical path: from raw PCB and silicone storage, through the extruder, into the curing oven, past the laser marker, and finally to the winding station. A good layout minimizes handling, maximizes safety, and ensures operators can monitor the entire process easily.
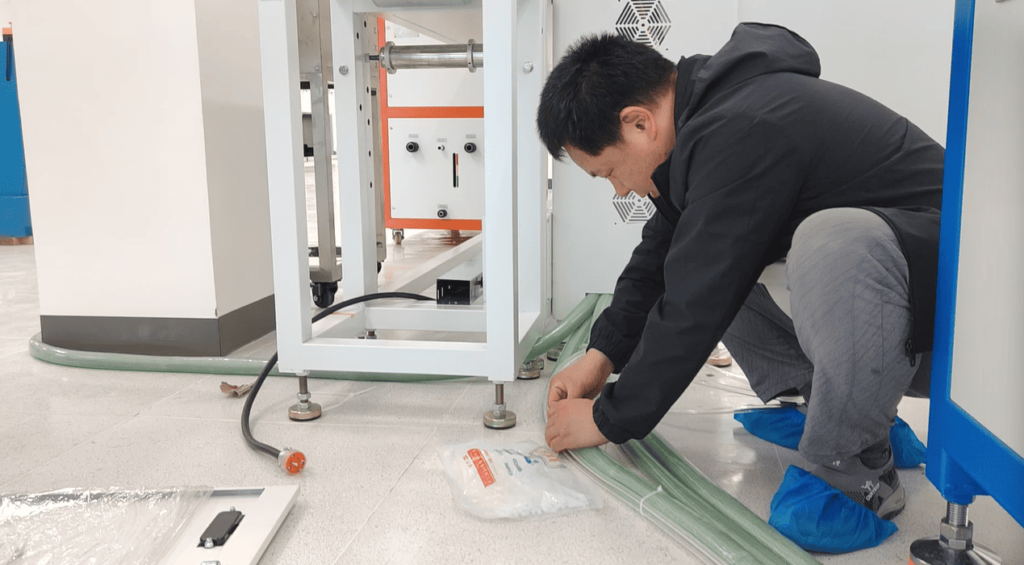
Stage 2: Mechanical Alignment and Integration

Precision is non-negotiable. We use laser levels and straight edges to align the extruder, conveyor, and curing oven into one perfectly straight line. Even a minor misalignment can cause the soft, uncured strip to snag or deform. We then connect auxiliary systems like the industrial chiller, routing coolant hoses to precisely control the temperature of the extruder barrel and crosshead mold, which is critical for stable silicone viscosity.
Stage 3: Electrical and Control System Commissioning
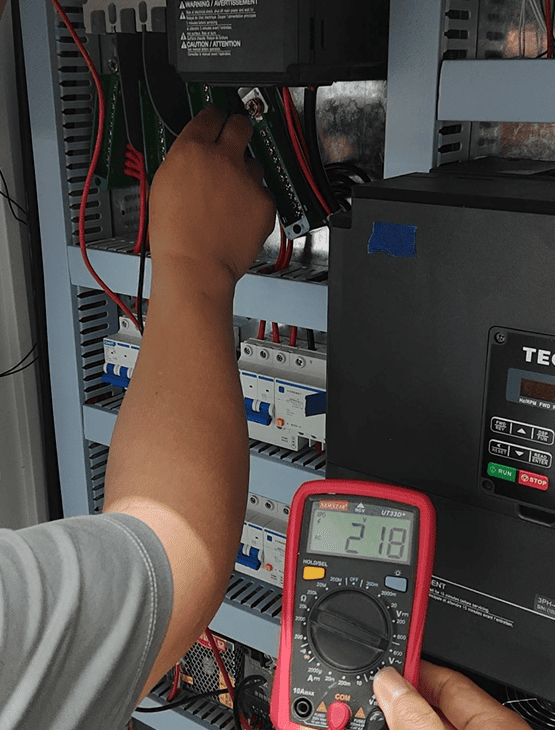
This is the nervous system of your line. Our electricians methodically connect all power and control cables to the main panel. Every connection is checked and labeled. Before powering on, we use multimeters to verify all wiring for safety. Finally, we boot up the human-machine interface (HMI). This touchscreen is your command center, where you will control temperatures, speeds, and monitor the entire silicone rubber extrusion process.
Stage 4: Core Tooling Calibration
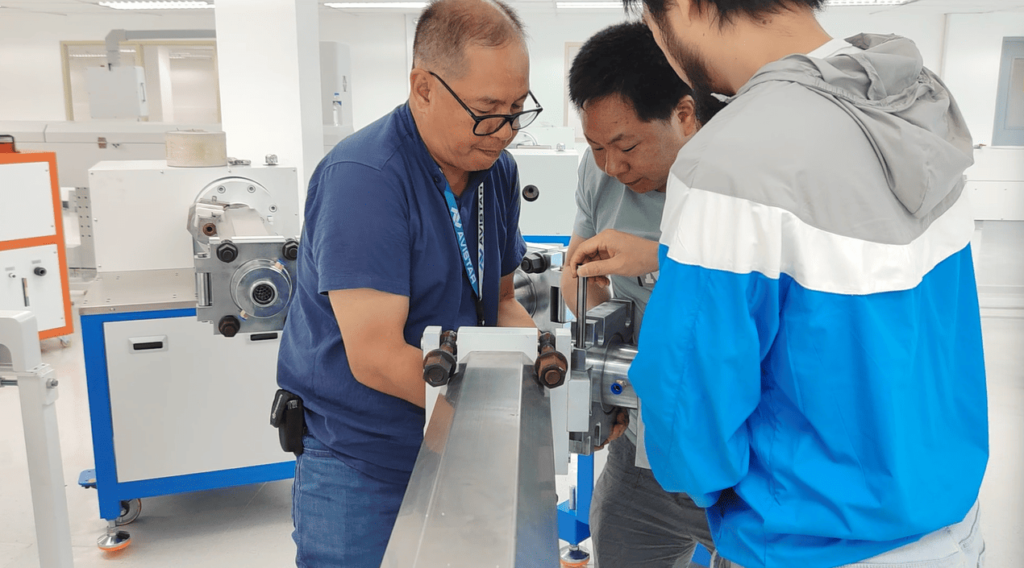
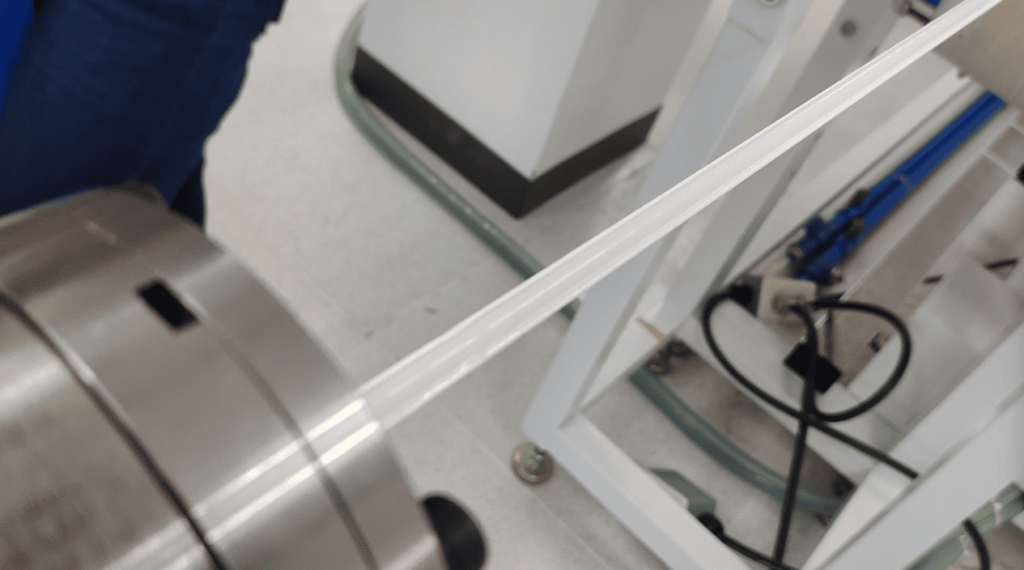
The heart of the line is the extrusion crosshead mold. Its alignment dictates your product’s quality. We perform a critical step called concentricity adjustment. Using dial indicators, we fine-tune a set of four screws around the mold housing. This centers the internal core pin with micron-level accuracy. A perfectly centered mold ensures the silicone encapsulates the LED strip with perfectly uniform wall thickness, which is essential for consistent waterproofing and light diffusion.
This foundational work, though unseen in the final product, is what separates a temperamental machine from a reliable workhorse. It’s the bedrock upon which all subsequent training and production depends. Learn more about the precision engineering of our extrusion molds.
Chapter 2: What Does Effective On-Site Training for Silicone Extrusion Look Like?
A machine is useless without skilled operators. Our goal is to make your team independent experts, not just button-pushers.
True value comes from knowledge transfer. Our on-site training empowers your technicians to operate, maintain, and troubleshoot the entire silicone extrusion production line. We combine classroom theory with hands-on practice, ensuring they understand both the ‘how’ and the ‘why’.
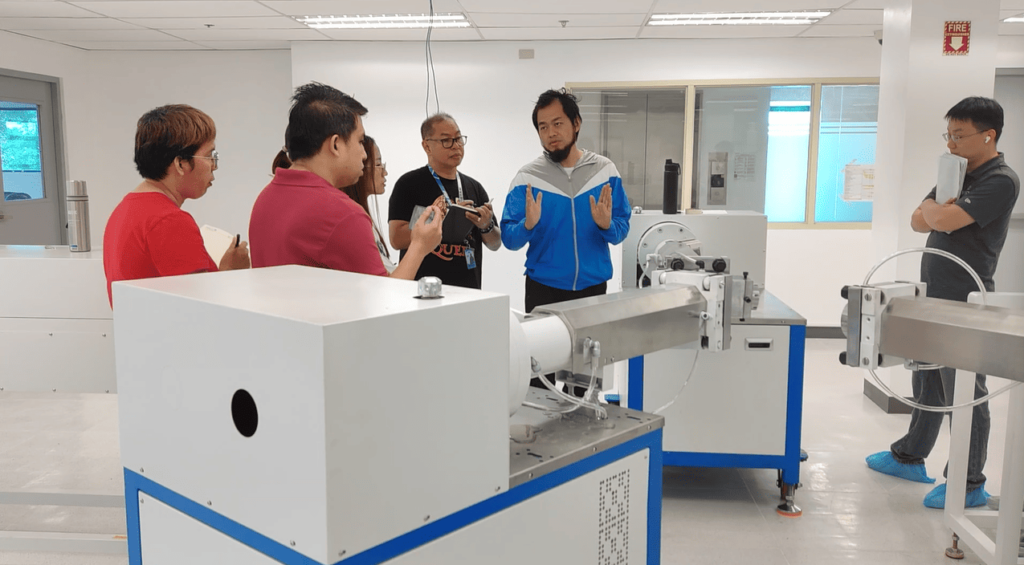
Training is not a lecture; it’s a collaborative workshop. We break it down into three interconnected modules that build your team’s confidence.
Module 1: Material Science Fundamentals
Your operators need to understand what they are working with. I gather the team in the material prep area. We go through the silicone rubber compound itself. I explain the role of each additive: the diffusing agent (like titanium dioxide) for light opacity, the platinum-based catalyst for controlled curing, and color masterbatches. We practice weighing these additives on digital scales with exact precision. A wrong ratio here means failed production later. We also cover proper storage; some materials and even spare mold parts need to be kept in a freezer to prevent premature curing.

Module 2: Machine Operation and Process Control
This is the core hands-on training. We move to the live machine.
- Startup Sequence: We practice the safe startup procedure, from feeding the first silicone bar to threading the LED strip PCB through the mold.
- HMI Mastery: We walk through every screen on the control panel. They learn to set temperature profiles for different materials, adjust extrusion and conveyor speeds, and monitor pressure readings.
- Real-Time Adjustment: I demonstrate how to make fine adjustments. For example, if the strip profile is uneven, we adjust the material feed screw. If tracking is poor, we calibrate the tension on the puller unit.
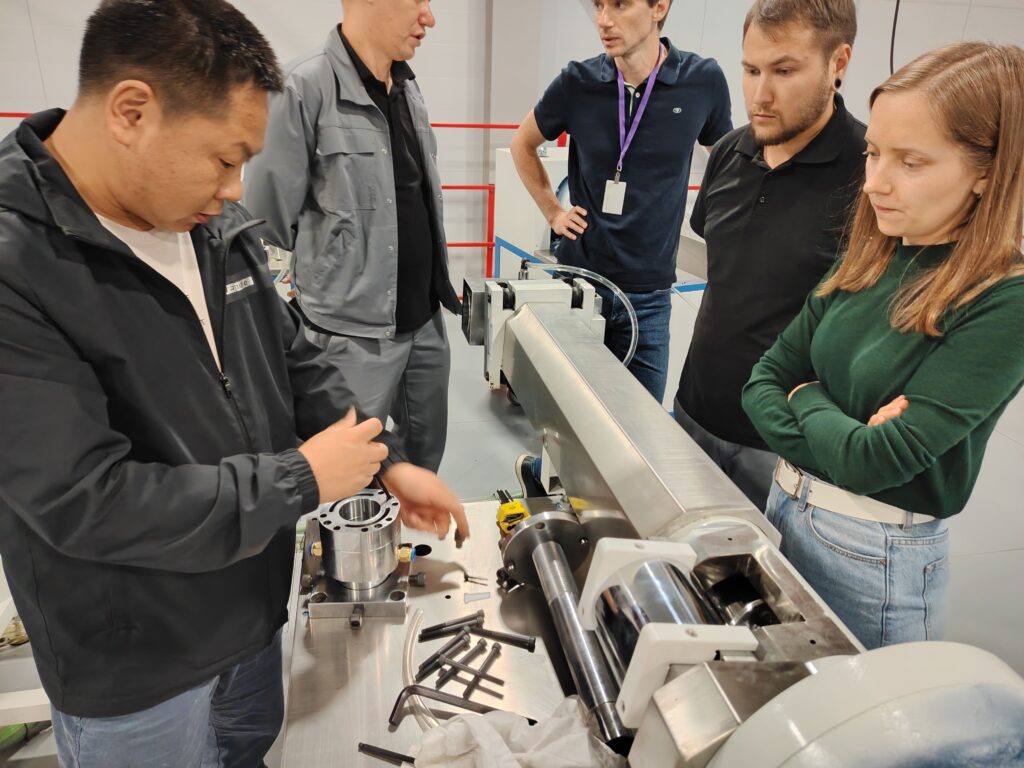
Module 3: Tooling Maintenance and Troubleshooting
This module prevents future downtime. We deliberately disassemble a clean extrusion mold. I show the function of every part: the die body, the core pin, the flow channels. We practice the correct assembly and disassembly sequence. I show them how to properly clean the mold and the extruder screw chamber with the right tools. Crucially, we also look at defects. I show photos of real problems: a strip with “sharkskin” bumps from incorrect speed, or a delaminated strip where the silicone didn’t stick to the PCB due to a priming issue. We discuss the root cause and the fix for each one.
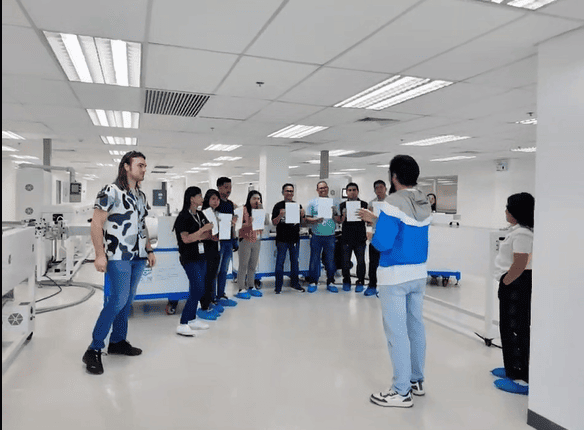
By the end, your team isn’t afraid of the machine. They have a mental map of how it works. They take notes, record videos on their phones, and practice procedures themselves under my watch. This investment turns a capital expense into a genuine asset. Discover the comprehensive support and training that comes with our machines.
Chapter 3: How Do We Debug and Fine-Tune the Silicone Extrusion Process for Your Product?
Even with perfect installation and training, the first production runs are a dialogue between man, machine, and material.
Process debugging is where theory meets reality. We run trial batches, inspect every millimeter of the extruded silicone LED strip, and make micro-adjustments to the machine, mold, and material until the output meets your exact specifications.

This phase is iterative and detail-oriented. It follows a clear cycle: Produce, Inspect, Analyze, Adjust.
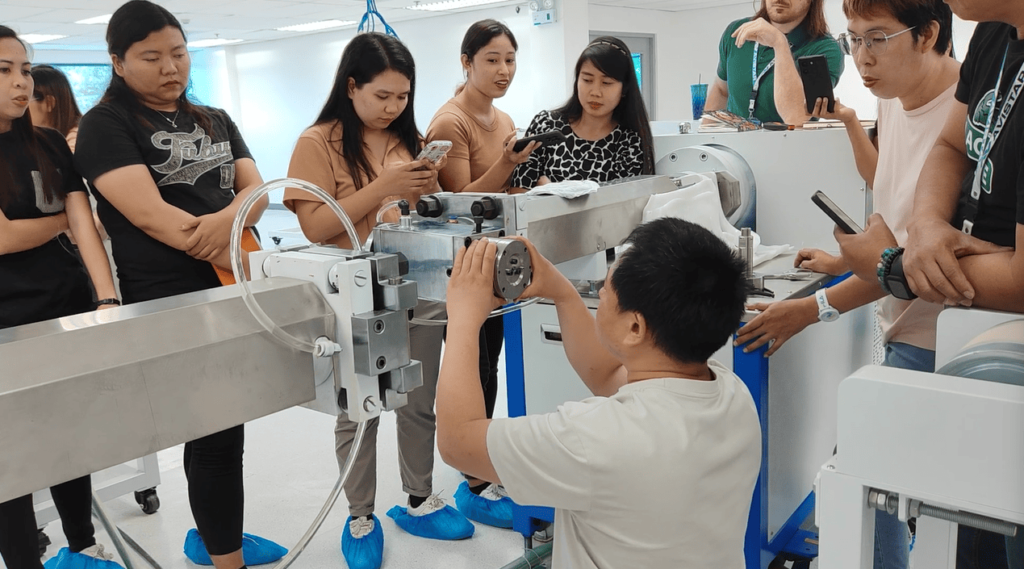
The First Meter: A Collective Moment
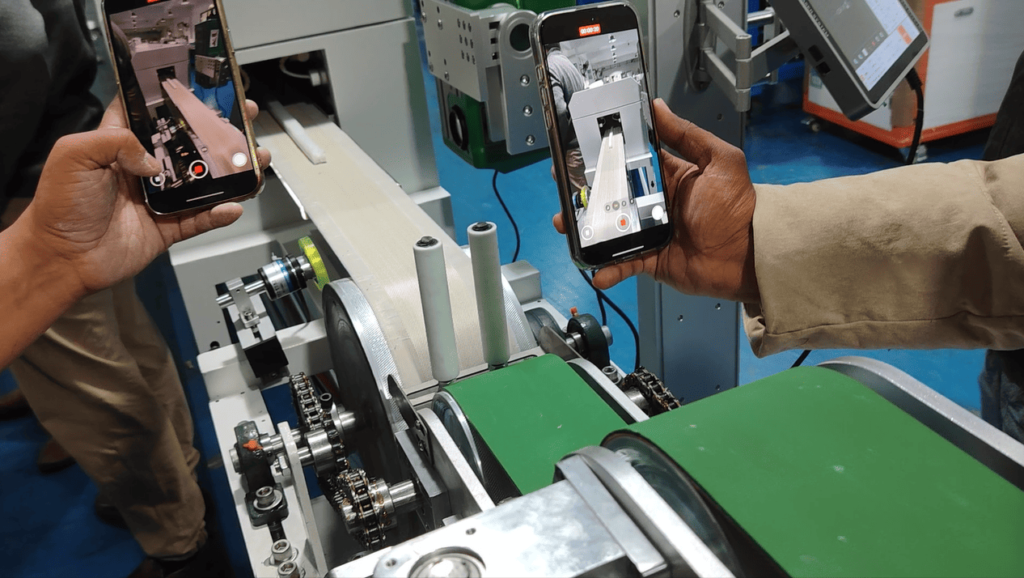
The first time cured silicone strip emerges from the oven is a milestone. Often, the whole team—yours and mine—will hold up phones to record it. This first sample is our baseline. We immediately cut a section and gather around a table.
The Quality Inspection Checklist
We subject this sample to a battery of checks:

- Visual and Dimensional: Is the cross-section the perfect 16mm x 15mm rectangle you designed? Are the corners sharp, the surfaces smooth? We use calipers and visual inspection.
- Adhesion Test: This is critical for waterproofing. We try to peel the silicone away from the LED PCB with a knife or even our nails. A good bond should resist this completely. If it delaminates, we know we have a primer or material compatibility issue to solve.
- Functional Tests: Does the strip bend without cracking? Does the light diffuse evenly without hot spots? We might connect it to power right there on the bench.
The Adjustment Loop
Based on the inspection, we go back to the machine.

- If the shape is wrong: We return to the mold. We might adjust the die lips or re-check the concentricity. A tiny turn of an adjustment screw can make a big difference.
- If the surface is defective: A rough or bumpy surface (melt fracture) points to a material or speed issue. We might adjust the temperature in a specific barrel zone or reduce the extrusion screw speed.
- If adhesion is poor: We revisit the priming process for the PCB or examine the silicone compound formulation.
We run another batch. We inspect again. Each cycle brings the product closer to perfection. We also integrate secondary processes during this phase, like setting up the laser marking system. We adjust the laser’s focus and program the encoder to print your logo precisely every meter.
This debugging phase solidifies your team’s training. They see cause and effect in real-time. They learn that running a silicone LED strip extrusion machine is a dynamic skill, not a static one. By the end, they are not just running the machine; they are managing the process.

Chapter 4: How Do We Ensure Long-Term Success and Build a Partnership?
Our job isn’t done when the plane takes off. The true test of a partnership is your sustained productivity months and years later.
Long-term success requires reliable material supply chains, accessible spare parts, and ongoing technical support. We build partnerships by providing seamless post-installation support, ensuring your LED strip extrusion production remains competitive and profitable.
A complex production line is a living system. Its needs evolve. Our role shifts from installer to strategic partner, focused on three key areas.
Seamless Supply Chain Support
Your production can’t stop if you run out of material. I use my network to solve this. If you can source silicone rubber or additives locally, I help qualify the suppliers. If not, I coordinate reliable shipments from trusted partners. The same goes for spare parts—wear items like seals, heater bands, or even a spare screw. We maintain a stock of common parts and can expedite shipping to avoid lengthy downtime. Having been to your factory, I understand your local challenges and can plan accordingly.
Proactive Knowledge Updates
The LED market changes. New materials, stricter regulations, or novel strip designs emerge. We keep our partners informed. I might send updates on a new high-diffusion silicone compound or a more efficient mold design for a popular profile. This isn’t just about selling more; it’s about helping you improve your product and reduce your cost. When your team has a question six months later, they send a photo or a video, and I provide a specific, informed answer because I’ve seen their exact setup.
Building on a Foundation of Trust

The final day on-site is symbolic. We often take a group photo with the now-operational line in the background. Sometimes, the client will take us on a local trip—I’ve stood by a volcanic lake in the Philippines after a tough project. These moments matter. They transform a business transaction into a human connection.
When you choose SiliconExtrusionTech, you’re not just buying a machine. You’re gaining a partner who has a direct stake in your factory’s output. You get my direct experience from dozens of installations across different cultures and industries. You get the confidence that comes from knowing the person who designed your solution has also stood on your floor, trained your people, and solved your problems. We are invested in your success, from the first meter of strip to the thousandth reel shipped to your customers.
Conclusion
The journey from a delivered machine to a productive asset is detailed, demanding, and deeply collaborative. It’s the process that turns hardware into genuine capability.
Are you planning a new silicone LED strip production line, or looking to upgrade your existing setup?
Let’s discuss your specific product and production goals. I will bring my on-the-ground experience from installations worldwide to design a practical, efficient solution for your factory. We can handle everything, from machine configuration and mold design to material sourcing and in-depth operator training.
Contact me, Eason, today for a direct consultation. Let’s build your success, from our factory to your floor.